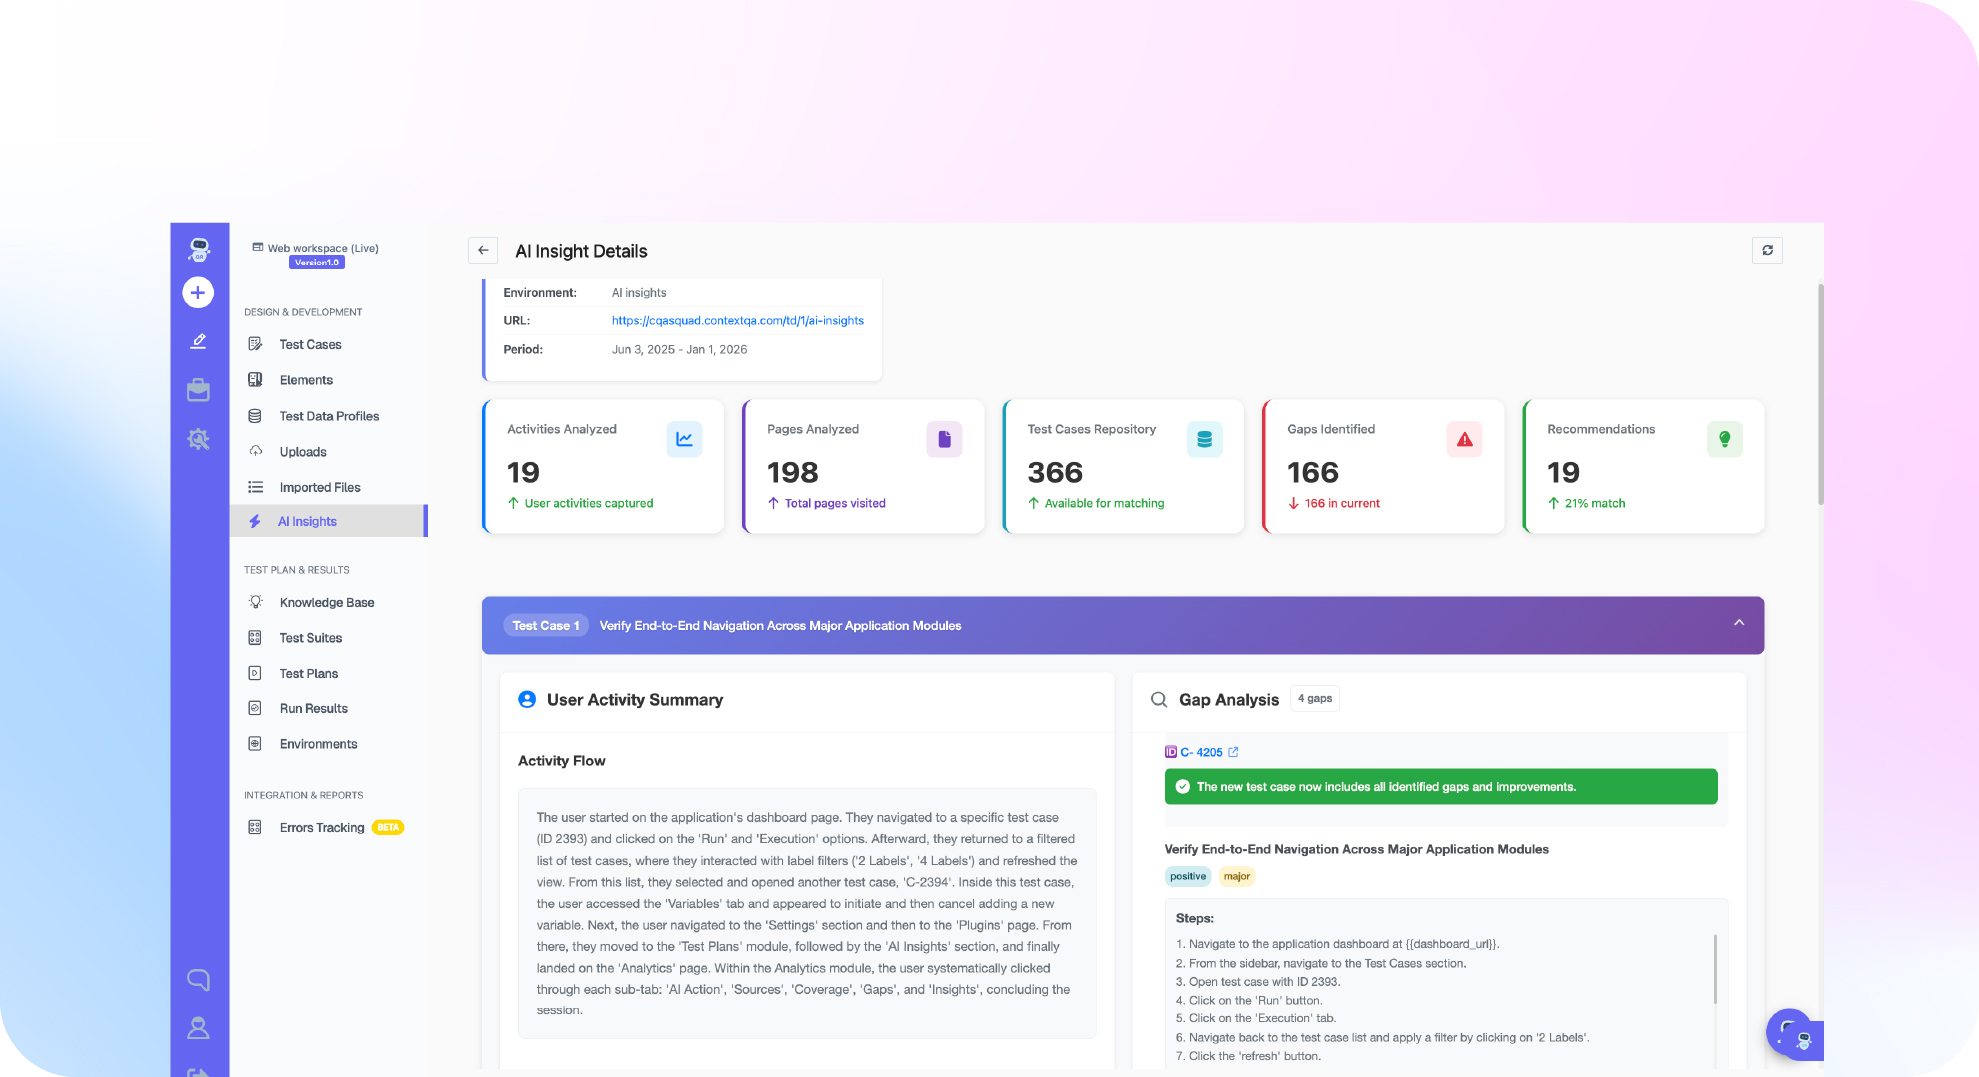

TL;DR: To generate tests from Figma, export the frames for one user flow and attach them as visual context to a requirement with the target URL. Answer the AI's clarification questions. Then review the positive, negative, edge, and field validation cases it produces before you publish them to a regression suite. A design shows layout and states but not every business rule, so add the written acceptance criteria too. ContextQA, the autonomous quality engineer, generates test cases from Figma designs and links each case back to its requirement.
Writing test steps and assertions by hand from frames, states, and annotations is the hard part of design driven testing, and you have to redo it every time the design changes. This guide walks through the ContextQA workflow for turning a Figma design into reviewed, traceable test cases.
Quick answers
What does a Figma design need to contain before AI can generate useful test cases from it? It needs every state of the flow: default, validation errors, empty states, and success, with labels that match the build. If the design leaves out the error state, the tests will too (AI Test Generation).
How do I keep Figma generated tests traceable and reviewed before they enter our regression suite? Create a requirement in Assets → Requirements → New Requirement and choose Require Approval. The details page keeps the source, AI interpretation, coverage, and review decisions together, and it marks cases that already exist (Requirements Management).
What happens to Figma derived tests when the shipped UI drifts from the original design? AI based self healing repairs broken selectors and locators when the UI changes. If the behavior changes and not just the layout, update the design or requirement and regenerate.
What does it mean to generate tests from Figma, and when do you need it?
Turning a Figma file into tests means converting the screens, fields, and states a designer specified into executable test steps and assertions. You need this when UI work starts in Figma and your regression suite falls behind the design. Otherwise, new screens are still untested when the feature reaches CI.
A design file records details that tickets often leave out, such as field order, validation messages, empty states, and disabled buttons. If you use it as a test source, you see where the build drifts from the approved design while the pull request is still open, before the bug reaches a release branch.
In ContextQA, Figma is one of the source types that AI test generation accepts. The others include Jira tickets, Swagger specs, videos, and plain English. A design goes through the same review path as any other source: you pick the target platform, the publish mode, and the scenario types, answer the clarification questions, and review the output.
What do you need before you start?
You need four things: a ContextQA account with a workspace, the Figma frames for the flow you want covered, the URL of a build that implements the design, and a decision on publish mode. Acceptance criteria from the matching Jira story are optional, but they leave the AI fewer gaps to ask you about.
If you are comparing ways to turn Figma designs into test scripts, the main difference is what happens after the tests are generated:
- Design only generators: They read your frames and draft test outlines but never check them against the running app. You only find out about a renamed button when the suite fails in CI.
- Design to code converters: They produce framework scripts that you own. You also own every locator fix when the UI changes.
- ContextQA platform: It generates cases from Figma, Jira, Swagger, video, or plain English (AI Test Generation). You choose Web, Mobile, or API, then Required Approval or Auto Publish. Each case links to a requirement, broken selectors are repaired automatically, and cases export to Playwright through code export.

How do you turn a Figma design into test cases, step by step?
Pair the design with a written requirement in the Requirements Library. Pick the target platform and scenario types, answer the AI's clarification questions, and review the generated cases before they publish. For a Figma to Playwright workflow, export the approved cases as Playwright code and run them in your CI pipeline.
- Open Assets → Requirements → New Requirement. Upload the written spec (
.pdf,.docx, or.txt) or connect the Jira story the design belongs to (requirements workflow). - Select Web or Mobile as the target platform.
- Choose Required Approval so a QA owner signs off before any case enters a shared suite.
- Select the scenario types: positive, negative, edge, field validation, and boundary.
- Export the relevant Figma frames as PNG and attach them as visual context. They show the AI states the text leaves out, such as inline error messages.
- Answer the clarification questions, then approve or reject each generated case.
- Export the accepted cases with code export and run them in your pipeline:
npm ci
npx playwright install --with-deps
npx playwright test --project=chromium --reporter=line
If you don't need portable code, you can run the same approved cases inside ContextQA and trigger them from your CI tool.
What are the most common mistakes?
The most common mistakes are treating a Figma frame as the full specification, accepting every AI clarification without reading it, auto publishing design based cases with no review, and generating only positive scenarios. A mockup shows intended layout, not validation rules or real data, so each gap produces tests that match the design and still miss defects.
- Design file as the only source: Frames rarely show inline errors, empty states, or permission rules. Attach the Figma export as visual context next to the written requirement or Jira story in the requirements workflow.
- Accepting every recommended answer: The AI preselects its answers to the clarification questions. Change any answer that conflicts with the real business rule.
- Auto Publish on new screens: Use Required Approval until a reviewer confirms the assertions match the built UI and not the mockup.
- Positive scenarios only: Also select the negative, boundary, and field validation scenario types.
- Mixing up the two MCP servers: A Figma MCP server gives an AI assistant design context. The ContextQA MCP server gives Claude Code, Cursor, or Codex access to 50 testing tools that generate and run tests against a live URL.
How do you know it is working?
It is working when every Figma frame you supplied traces to at least one approved test case and those cases pass against the live build. A case that fails because the design and the shipped UI disagree is still a useful result. It shows the suite checks real behavior and doesn't just repeat the mockup.
Can AI generate end to end tests from UI mockups and design specs? Yes. ContextQA lists Figma designs as a test generation source, and end to end is one of the scenario types you can select. A mockup can't prove the UI works, so measure against the running app:
- Coverage: In the Requirements Library, the Test Cases column for the requirement should show linked tests for each flow in the design.
- Duplicates: Check the existing case marker before you publish. Cases flagged as already in the repository add no new coverage.
- Review yield: With Require Approval on, count how many generated cases you reject. A high rejection rate usually means the frames are missing states such as errors or empty lists.
- First run: Run the approved suite against the target URL and sort each failure into one of two groups: a product bug or a mismatch between design and build.

How do you automate Figma test generation with ContextQA?
ContextQA treats a Figma design as a source for AI test generation. You add the design to a requirement, set the platform and scenario types, answer the clarifications, and review the cases before they publish. Approved tests run from Jenkins, GitHub Actions, or other CI/CD tools, and they can also be exported as Playwright code.
- In Assets → Requirements → New Requirement, add the Figma design as the source or attach frames next to the written story (AI Test Generation).
- Select Web or Mobile, then choose Required Approval.
- Approve the cases, publish them to a suite, and trigger that suite from your pipeline.
Engineers in Claude Code or Cursor can start the same generation through the ContextQA MCP server without leaving the IDE.
Accuracy and limits: A Figma frame doesn't show backend rules such as unique email checks, so the AI can't infer them from the design alone. The clarification questions and the approval step cover that gap. Self healing repairs broken locators, but a changed flow still needs new tests.
If your team still rewrites Figma designs into test steps by hand before every sprint, book a demo to see ContextQA generate those test cases from the design file.
What should you do right now?
Pick one high traffic Figma flow and run it through the ContextQA Requirements Library with Required Approval turned on. Check every generated case against the design, then run the accepted cases in CI. Self healing handles selector changes. When the flow itself changes, regenerate from the updated frame.
- Choose one flow with stable copy and field labels, such as signup or checkout.
- Attach the frame as visual context, set Web or Mobile, and select Required Approval.
- Turn on the positive, negative, edge, field validation, and boundary scenario types.
- Answer every clarification question, especially those about error states.
- Reject any case that asserts behavior the frame doesn't show.
- Run the suite against staging from Jenkins or GitHub Actions.
- When the design changes, create a new requirement from the revised frame and use the existing case marker to separate new coverage from current tests (Requirements Management).
Bottom line
A Figma file shows the intended behavior before the code ships, which makes it a good starting point for test coverage. ContextQA turns the design into test cases with steps and assertions. You choose the platform, the scenario types, the clarification answers, and the publish mode. Keep a reviewer on anything that enters a shared regression plan. For other sources, read about API tests from Swagger.