
TL;DR: Learning how to write JUnit test cases comes down to one pattern: arrange the state, act on one method, assert one outcome. JUnit 5 remains the production standard, and JUnit 6.0.0 (released September 30, 2025) raises the baseline to Java 17, unifies versioning across all modules, and adds native Kotlin suspend support. This guide covers setup, annotations, assertions, Mockito, Spring Boot web tests, and how to generate JUnit test cases automatically.
Quick Answers
What is a JUnit test case? A JUnit test case is a Java method annotated with @Test that verifies one specific behavior of your code. It runs independently, compares expected output to actual output with assertion methods, and reports pass or fail without any manual inspection.
Which JUnit version should you use in 2026? Use JUnit 5 (Jupiter) for existing projects and JUnit 6 for new projects already on Java 17 or later. JUnit 4 no longer receives feature development, and JUnit 6 formally deprecates the Vintage bridge that runs old JUnit 4 tests.
Can JUnit test cases be generated automatically? Yes. IDEs scaffold test stubs, AI assistants draft complete test methods from your code, and tools like Diffblue Cover and EvoSuite synthesize regression suites. Every generated test still needs human review, because generators assert what the code currently does, including its bugs.
What Is a JUnit Test Case?
A JUnit test case is a Java method annotated with @Test that verifies a specific unit of code behaves correctly under defined conditions. It runs in isolation, uses assertion methods to compare expected and actual results, and reports pass or fail automatically.
@Test
void shouldReturnTrueForValidEmail() {
    EmailValidator validator = new EmailValidator();
    assertTrue(validator.isValid("user@example.com"));
}
One test. One behavior. One assertion. Scale that pattern across your codebase and you have a test suite your team can trust. The rest of this guide shows you how to write JUnit test cases that hold that standard, and where even a disciplined suite leaves gaps.

How Do You Write JUnit Test Cases? Step by Step
Five steps take you from an empty project to a running suite. The code below uses JUnit 5 syntax, which is identical in JUnit 6 unless noted.
Step 1: Add JUnit to Your Project
Maven (JUnit 5 Jupiter):
<dependency>
    <groupId>org.junit.jupiter</groupId>
    <artifactId>junit-jupiter</artifactId>
    <version>5.11.0</version>
    <scope>test</scope>
</dependency>
Gradle:
testImplementation 'org.junit.jupiter:junit-jupiter:5.11.0'JUnit 6 uses the same coordinates with a unified 6.x version. It requires Java 17 or later, so check your toolchain before upgrading:
<dependency>
    <groupId>org.junit.jupiter</groupId>
    <artifactId>junit-jupiter</artifactId>
    <version>6.0.0</version>
    <scope>test</scope>
</dependency>
Step 2: Create a Test Class
Naming convention: append Test to the class under test. Calculator becomes CalculatorTest.
import org.junit.jupiter.api.*;
import static org.junit.jupiter.api.Assertions.*;

class CalculatorTest {

    private Calculator calculator;

    @BeforeEach
    void setUp() {
        calculator = new Calculator();
    }

    @Test
    void shouldAddTwoPositiveNumbers() {
        int result = calculator.add(3, 4);
        assertEquals(7, result, "3 + 4 should equal 7");
    }

    @Test
    void shouldHandleNegativeNumbers() {
        int result = calculator.add(-2, 5);
        assertEquals(3, result);
    }

    @AfterEach
    void tearDown() {
        calculator = null;
    }
}
Key annotation changes from JUnit 4 to JUnit 5 and 6:
| JUnit 4 | JUnit 5 / 6 | Purpose |
|---|---|---|
@Before | @BeforeEach | Runs before every test method |
@After | @AfterEach | Runs after every test method |
@BeforeClass | @BeforeAll | Runs once before all tests in class |
@AfterClass | @AfterAll | Runs once after all tests in class |
@Ignore | @Disabled | Skips the test |
@RunWith | @ExtendWith | Hooks in extensions (Spring, Mockito) |
Step 3: Structure Every Test as Arrange, Act, Assert
Good JUnit test cases follow the same three-beat rhythm: build the state, call one method, verify one outcome. When a test fails for exactly one reason, the CI log tells you what broke without a debugging session.
JUnit 5 provides everything you need in org.junit.jupiter.api.Assertions. These cover the vast majority of real-world test cases:
// Value equality
assertEquals(expected, actual);
assertEquals(expected, actual, "Failure message");

// Null checks
assertNotNull(object);
assertNull(object);

// Boolean conditions
assertTrue(condition);
assertFalse(condition);

// Exception testing, the correct JUnit 5 way
assertThrows(IllegalArgumentException.class, () -> {
    calculator.divide(10, 0);
});

// Group multiple assertions, all run even if one fails
assertAll("calculator operations",
    () -> assertEquals(10, calculator.add(5, 5)),
    () -> assertEquals(0,  calculator.subtract(5, 5)),
    () -> assertEquals(25, calculator.multiply(5, 5))
);
Step 4: Write Parameterized Tests Instead of Copy-Pasting
Repeating the same test for different inputs is a maintenance trap. Use @ParameterizedTest instead:
@ParameterizedTest
@ValueSource(strings = {"user@example.com", "admin@test.org", "dev@company.io"})
void shouldValidateCorrectEmails(String email) {
    assertTrue(emailValidator.isValid(email));
}

@ParameterizedTest
@CsvSource({
    "5,  3, 2",
    "10, 4, 6",
    "100, 50, 50"
})
void shouldSubtractCorrectly(int a, int b, int expected) {
    assertEquals(expected, calculator.subtract(a, b));
}
Note for upgraders: JUnit 6 replaced the unmaintained univocity-parsers library with FastCSV for @CsvSource and @CsvFileSource, so unusual CSV quoting that worked before behaves more strictly now.
Step 5: Run Your Tests
# Maven
mvn test

# Gradle
./gradlew test
Both generate reports, Maven in target/surefire-reports/ and Gradle in build/reports/tests/. Every major IDE (IntelliJ IDEA, Eclipse, VS Code) runs JUnit tests natively with a green or red indicator per method.
JUnit 5 vs JUnit 6: What Actually Changed?
JUnit 5 was a fundamental rearchitecture. It split the framework into three modules: JUnit Platform (the launcher and engine API), JUnit Jupiter (the modern programming model), and JUnit Vintage (backward compatibility for JUnit 3 and 4 tests). That separation is why IDEs and build tools integrate with JUnit so cleanly.
JUnit 6.0.0, released September 30, 2025, is a consolidation release rather than a rewrite. According to the official JUnit 6 release notes, the verified changes are:
- Java 17 baseline. JUnit 6 requires Java 17 or later, aligning with Spring Boot 3.x and the wider ecosystem. This is the main migration blocker for older codebases.
- Unified versioning. Platform, Jupiter, and Vintage all share the same 6.x version number, ending the confusion of matching Platform 1.x releases to Jupiter 5.x releases.
- JSpecify nullability annotations across all modules, which gives IDEs and Kotlin precise null-safety information.
- Native Kotlin suspend support. Test methods can be declared as
suspendfunctions and call coroutines directly, withoutrunBlockingboilerplate. - A cancellation API. The new
CancellationTokenplus the--fail-fastconsole flag stop a run on the first failure, which shortens feedback on large suites. - Cleanup. Long-deprecated APIs are removed and the Vintage engine for JUnit 4 tests is formally deprecated.
When should you upgrade? Start new Java 17+ projects on JUnit 6 today. For existing JUnit 5 suites, the upgrade is low risk because the Jupiter API is unchanged, but budget time for the Java baseline and for any JUnit 4 tests still running through Vintage. Teams stuck on JUnit 4 should treat the Vintage deprecation as the final call to migrate.
How Do You Write JUnit Test Cases for Web Applications?
The same JUnit engine runs your web layer tests, Spring just supplies the harness. For a Spring Boot controller, use the @WebMvcTest slice with MockMvc so the test starts only the web layer instead of the whole application:
@WebMvcTest(UserController.class)
class UserControllerTest {

    @Autowired
    MockMvc mockMvc;

    @MockBean
    UserService userService;

    @Test
    void shouldReturn404WhenUserNotFound() throws Exception {
        when(userService.getUser(99L)).thenThrow(new UserNotFoundException());

        mockMvc.perform(get("/api/users/99"))
               .andExpect(status().isNotFound());
    }
}
Three layers, three tools, one framework:
- Service and domain logic: plain JUnit with Mockito, no Spring context needed. Fast, run these on every save.
- Controllers and REST endpoints:
@WebMvcTestwith MockMvc for request routing, status codes, and JSON shape. - Full wiring:
@SpringBootTestboots the real context for integration testing across beans, databases, and configuration.
What none of these cover is the actual browser: rendering, JavaScript behavior, and multi-page user journeys. That layer belongs to end-to-end tooling, which we cover below.
Can You Generate JUnit Test Cases Automatically?
Yes, and in 2026 most Java teams generate at least part of their suite. Four approaches dominate, each with a different trade-off:
| Approach | Examples | Best for | Watch out |
|---|---|---|---|
| IDE scaffolding | IntelliJ IDEA, Eclipse test wizards | Generating class and method stubs fast | Stubs only, the assertions are still on you |
| AI coding assistants | GitHub Copilot, JetBrains AI Assistant | Drafting full test methods from context | Plausible-looking tests that assert the wrong thing |
| Search-based generators | Diffblue Cover, EvoSuite | Bulk regression suites for legacy code | They assert current behavior, bugs included |
| AI test platforms | ContextQA | Generating and maintaining end-to-end tests above the unit layer | Complements JUnit, does not replace it |
The critical caveat applies to every generator: automatically generated JUnit test cases are characterization tests. They document what the code does today, not what it should do. If calculateDiscount() has an off-by-one bug, the generated test will assert the buggy output and pass forever. Use generation to eliminate typing, then review every assertion against the requirement, not against the code.
How Does JUnit Work with Mockito?
Real-world unit tests almost always need to isolate external dependencies. Mockito is the standard companion:
@ExtendWith(MockitoExtension.class)
class UserServiceTest {

    @Mock
    UserRepository userRepository;

    @InjectMocks
    UserService userService;

    @Test
    void shouldReturnUserById() {
        User mockUser = new User(1L, "Asha", "asha@example.com");
        when(userRepository.findById(1L)).thenReturn(Optional.of(mockUser));

        User result = userService.getUser(1L);

        assertEquals("Asha", result.getName());
        verify(userRepository, times(1)).findById(1L);
    }
}
Mockito 5.x made the inline mock maker the default, which removed the need for PowerMock in most projects. If your build still carries PowerMock, that alone justifies modernizing the stack.
What Will JUnit Alone Not Catch?
JUnit is excellent at unit-level verification. It will not tell you about:
- Integration failures: two units that each pass in isolation but break when combined, like connection pooling or serialization mismatches
- UI and cross-browser regressions: user interface behavior needs dedicated functional testing
- Performance degradation:
assertTimeoutis a rough guard, not a benchmarking framework - End-to-end workflow failures: real user journeys across multiple services
- Coverage blindspots: JUnit runs the tests you wrote, it cannot know what you forgot to write
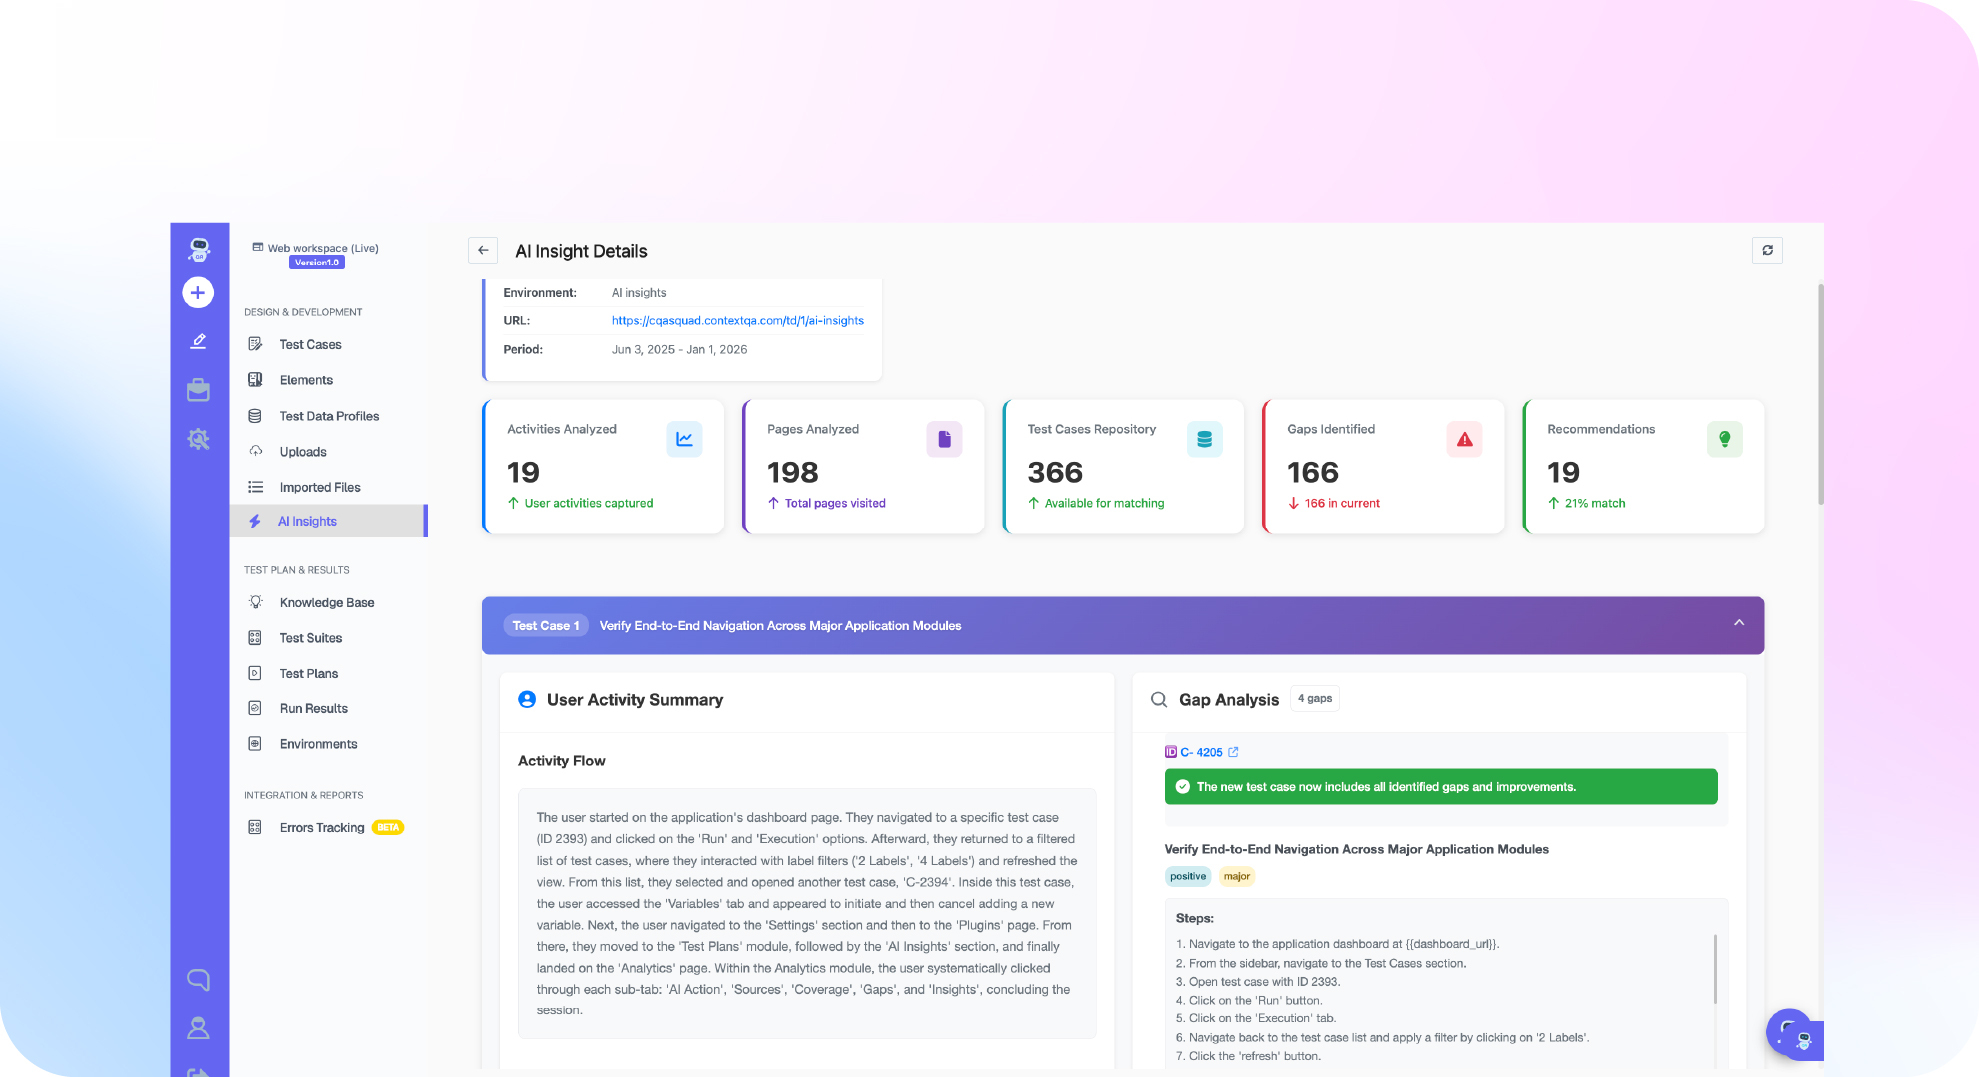
The last point bites teams hardest. A 90% code coverage number means nothing if the untested 10% includes your payment edge cases. This is why mature teams pair their unit suite with AI-powered test automation above the unit layer: IBM’s QA organization, managing more than 5,000 test cases on an enterprise application, used ContextQA to find redundant tests and flag critical paths that had zero coverage.
JUnit verifies the units. The layer above verifies the product. Teams that treat those as one job ship the gaps. You can see how the two layers connect across CI tools on our integrations page.
Free Ebook
Choosing what runs on top of your JUnit suite?
Our AI Testing Tools ebook compares the platforms that generate, execute, and maintain tests automatically, so you can pick the right layer above your unit tests.
Get the free ebookHow Do You Run JUnit in CI/CD Pipelines?
Every major CI platform parses JUnit’s Surefire XML output natively. Standard configurations:
GitHub Actions:
- name: Run Tests
  run: mvn test

- name: Publish Test Results
  uses: dorny/test-reporter@v1
  with:
    name: JUnit Tests
    path: target/surefire-reports/*.xml
    reporter: java-junit
Jenkins:
stage('Test') {
    steps {
        sh 'mvn test'
    }
    post {
        always {
            junit 'target/surefire-reports/*.xml'
        }
    }
}
For large suites, enable parallel execution:
# junit-platform.properties
junit.jupiter.execution.parallel.enabled=true
junit.jupiter.execution.parallel.mode.default=concurrent
On JUnit 6, add --fail-fast to console launcher runs so a broken commit stops the pipeline at the first failure instead of grinding through the full suite.
JUnit Test Case Quality Checklist
Before you call a suite done, verify each item:
- One behavior per test: a test should fail for exactly one reason
- Descriptive method names:
shouldThrowExceptionWhenDivisorIsZero(), nottestDivide() - @BeforeEach setup: no shared mutable state between tests
- Both happy path and edge cases: null inputs, zero values, boundary conditions
- Exception testing with assertThrows: not the JUnit 4
@Test(expected=...)pattern - Parameterized tests for data-driven scenarios: not copy-pasted methods
- Mockito for external dependencies: no real database or HTTP calls in unit tests
- Isolation: tests never rely on execution order
- CI integration: tests run on every commit, not just before release
- Coverage measured: JaCoCo or an AI coverage layer tracking which paths have zero tests
The Bottom Line
Knowing how to write JUnit test cases well is a compounding skill: the arrange-act-assert discipline, descriptive names, parameterized inputs, and Mockito isolation turn a test suite from a formality into an early-warning system. JUnit 5 is the safe production standard, and JUnit 6 is a clean upgrade once you are on Java 17.
The gap is never the framework. It is the scenarios nobody thought to write, the integration seams, and the user journeys that no unit test can see. Run your JUnit suite for the units, then add coverage intelligence on top for everything else.
Book a free demo to see AI-powered coverage analysis running alongside a real Java test suite.
Also Read:
→ JUnit Testing Guide: A Complete Reference for Java Developers
→ What Is Integration Testing? Effective Strategies and Practices
→ ContextQA AI Test Automation Platform